Cantonese Overseas Student's Homemade Cantonese Rice Noodle Rolls (Wheat Starch Version)
广东留子居家自制广式肠粉(澄面版本)
After living in Pittsburgh for a year, I realized authentic Cantonese cuisine doesn't exist here, so I had to rely on myself. Restoring Cantonese cuisine to its former glory is my duty! (The picture is for demonstration purposes, so I only added chopped scallions, haha)
- servings
- 👥 1 serving
- time
- ⏱ 1 min
- Cuisine
- 🍽 Chinese
by @雕鲤狮狒 · Original recipe on kangacook.com
English text is machine-translated from the original Chinese and has not been reviewed by a person.
Ingredients
- 80 grice flour
- 50 gwheat starch (Cake flour)
- 20 gcornstarch
- 280 gwater
Quantities are parsed from the author's free text; lines the parser is unsure about are shown as written and not scaled.
Nutrition per serving
- calories
- 415 kcal
- protein
- 8.2 g
- fat
- 0.8 g
- carbohydrate
- 94 g
As published by the author; KangaCook estimates these automatically.
Steps
- 1
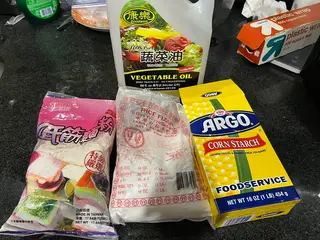
These are the ingredients needed to mix the batter. Rice flour and cake flour (wheat starch) were bought at an Asian supermarket, while cornstarch and cooking oil should be available at regular supermarkets.
- 2
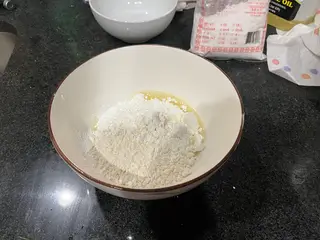
First pour all the flours into a bowl, simply using the ratios I provided without strictly following exact gram measurements, though extra batter can be frozen! Add a moderate amount of cooking oil, or leave it out completely!
- 3
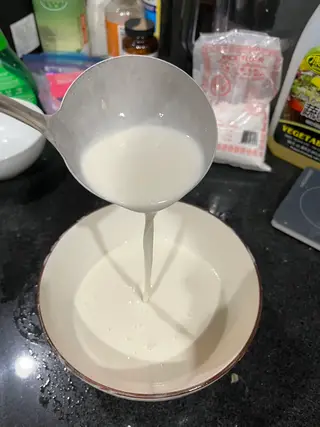
Next, add water and mix well, using your hands to speed up the process (since the batter feels quite nice to touch). Be patient during this step, as lumps in the batter will ruin the texture! Mix until silky smooth as shown in the picture.
- 4
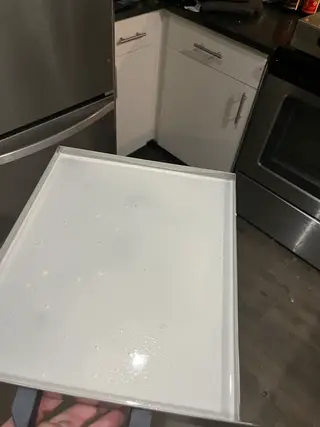
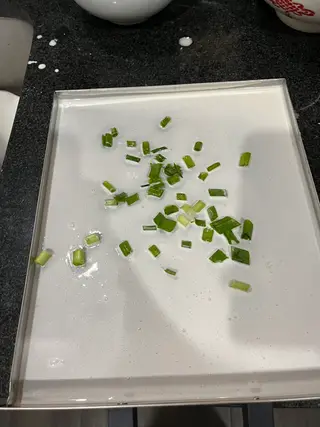
Pour an appropriate amount of rice batter evenly into the drawer (not sure what to call this) of the rice noodle roll steamer. Remember not to pour too much batter!! Just cover the entire surface evenly; otherwise, it will be too thick and affect the texture. You can shake the drawer side to side and up and down to spread it evenly. Oiling the tray before pouring the batter isn't strictly necessary. Beginners might struggle to control the amount of oil, which can cause the batter to not coat the surface evenly. Steamed rice rolls taste just as delicious without oiling!
- 5
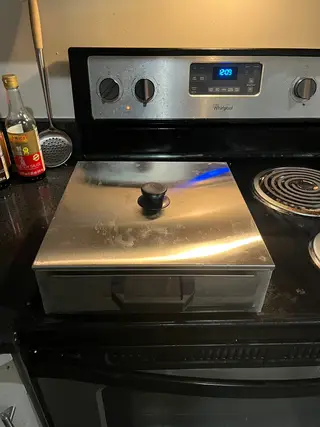
Here is a full photo of the rice noodle roll steamer. You can find it at Chinese supermarkets or online. It's super simple to use—just fill it with water!
- 6
After spreading the rice batter evenly, sprinkle your favorite toppings. Since this is just a demonstration, I only added chopped green onions. If you want to add larger ingredients (like raw whole shrimp), it's recommended to steam them separately first; otherwise, the short cooking time for the rice roll might not cook them through.
- 7
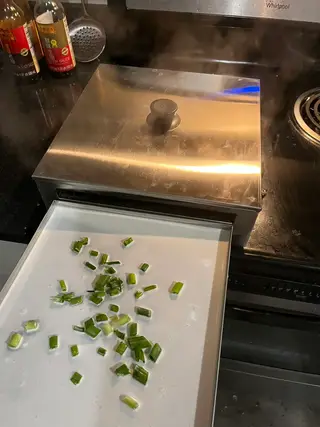
Wait until the water in the steamer boils (very important—patience is key here; usually when you see a lot of steam coming out, it's ready), then slide in the drawer. Steam on high heat for 1 minute throughout, do not steam for too long.
- 8
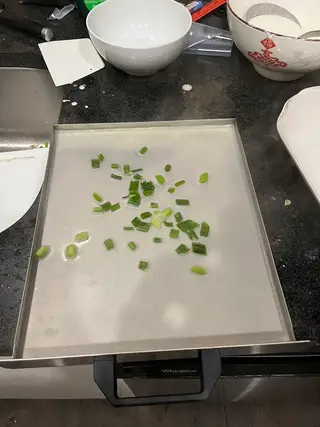
Steamed results as shown in the picture. If the wrapper doesn't tear, it's a success; if you take it out and see large bubbles puffing up, it's a huge success :D
- 9
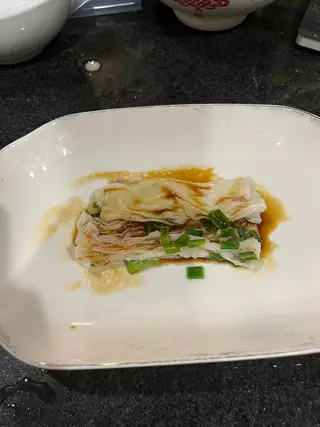
Scrape the rice noodle roll onto a plate and drizzle with your homemade secret seasoned soy sauce! I will post another recipe to teach everyone how to make this sauce!
- 10
Possible issues and reasons: 1. Batter clumping and not smooth: Incorrect ratio of flour to water 2. Batter doesn't cover the entire surface with irregular gaps in the middle: Too much oil brushed, causing the batter to not stick. Or incorrect flour-to-water ratio when mixing the batter, adding too much water 3. Steamed rice roll has uneven thickness: Too much batter added, making certain spots too thick and affecting texture. Remember, just enough batter to cover the surface is all you need!